Drawing the Eye
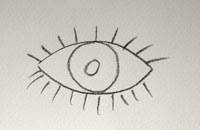 Drawing eyes can be quite difficult and it’s taken me a good deal of practice to get it right, well 80% right! When you draw an eye, it is good not to think of it as drawing lines. Remember when you were a child and your drawing of faces was quite basic. This is how you would probably have drawn an eye, with the pupil touching the outer edges. But when you look closely at someones face, you’ll notice that the pupil is partially covered, and there is light reflected within the pupil which brings the eye to life.
I’ve included here 4 steps on how I draw the eye, and its good to remember as your having a go, not to draw any lines, you are drawing tonal values, shadows and putting in highlights.
Here is a list of Ingredients:
An HB Pencil, Rubber, a nifty paper smudger ( This is tightly wound paper in a roll with a pointed end. Great for smudging your pencil marks to blend).
You will also need about half an hour, patience, a cup of tea and 2 Jammie Dodgers. I find the biscuits and tea help you to relax more!

Sorry for the darkness of the photograph. Firstly, do not use the tip of the pencil, use the side and begin to draw. Start to draw the triangular depression and the eyebrow. You are drawing the shadow and the eyebrow as one whole to begin with.
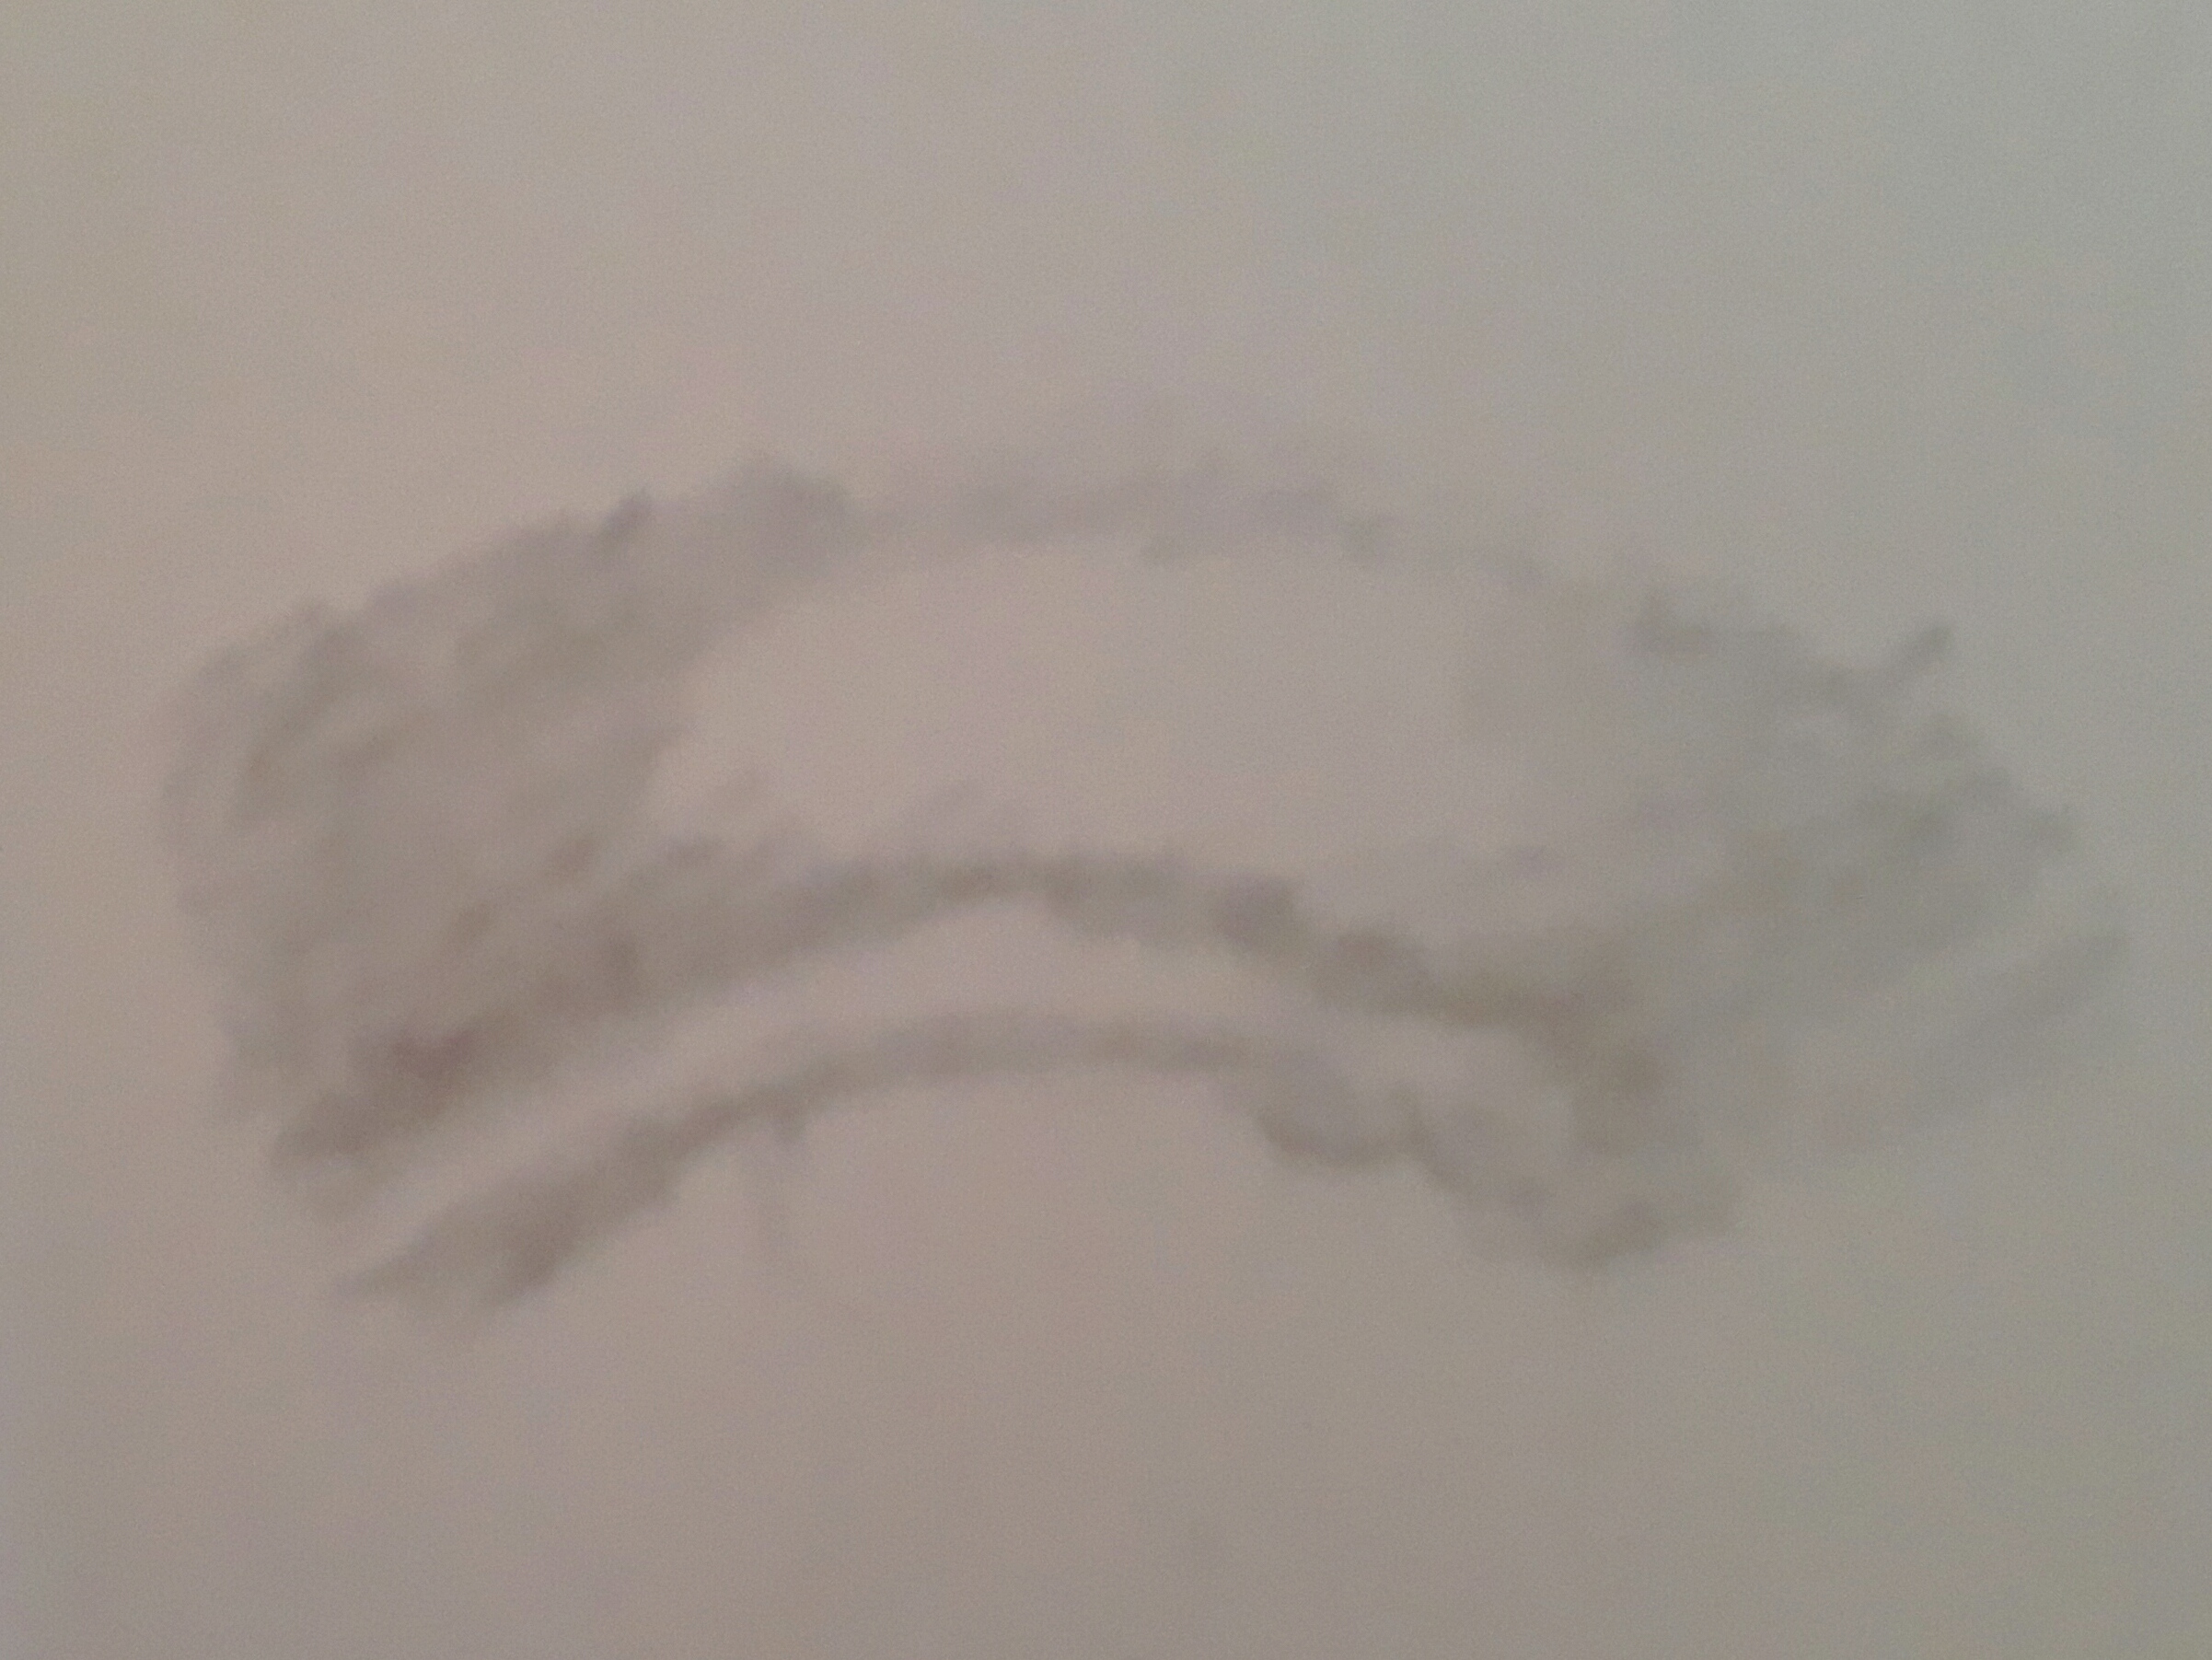
Next step is to draw the upper eyelid, curving with the side of the pencil and what seems like the top line of the eye. You then shade in the upper top of the eye curve and shade in the curve of the muscle at the edge of the eye.
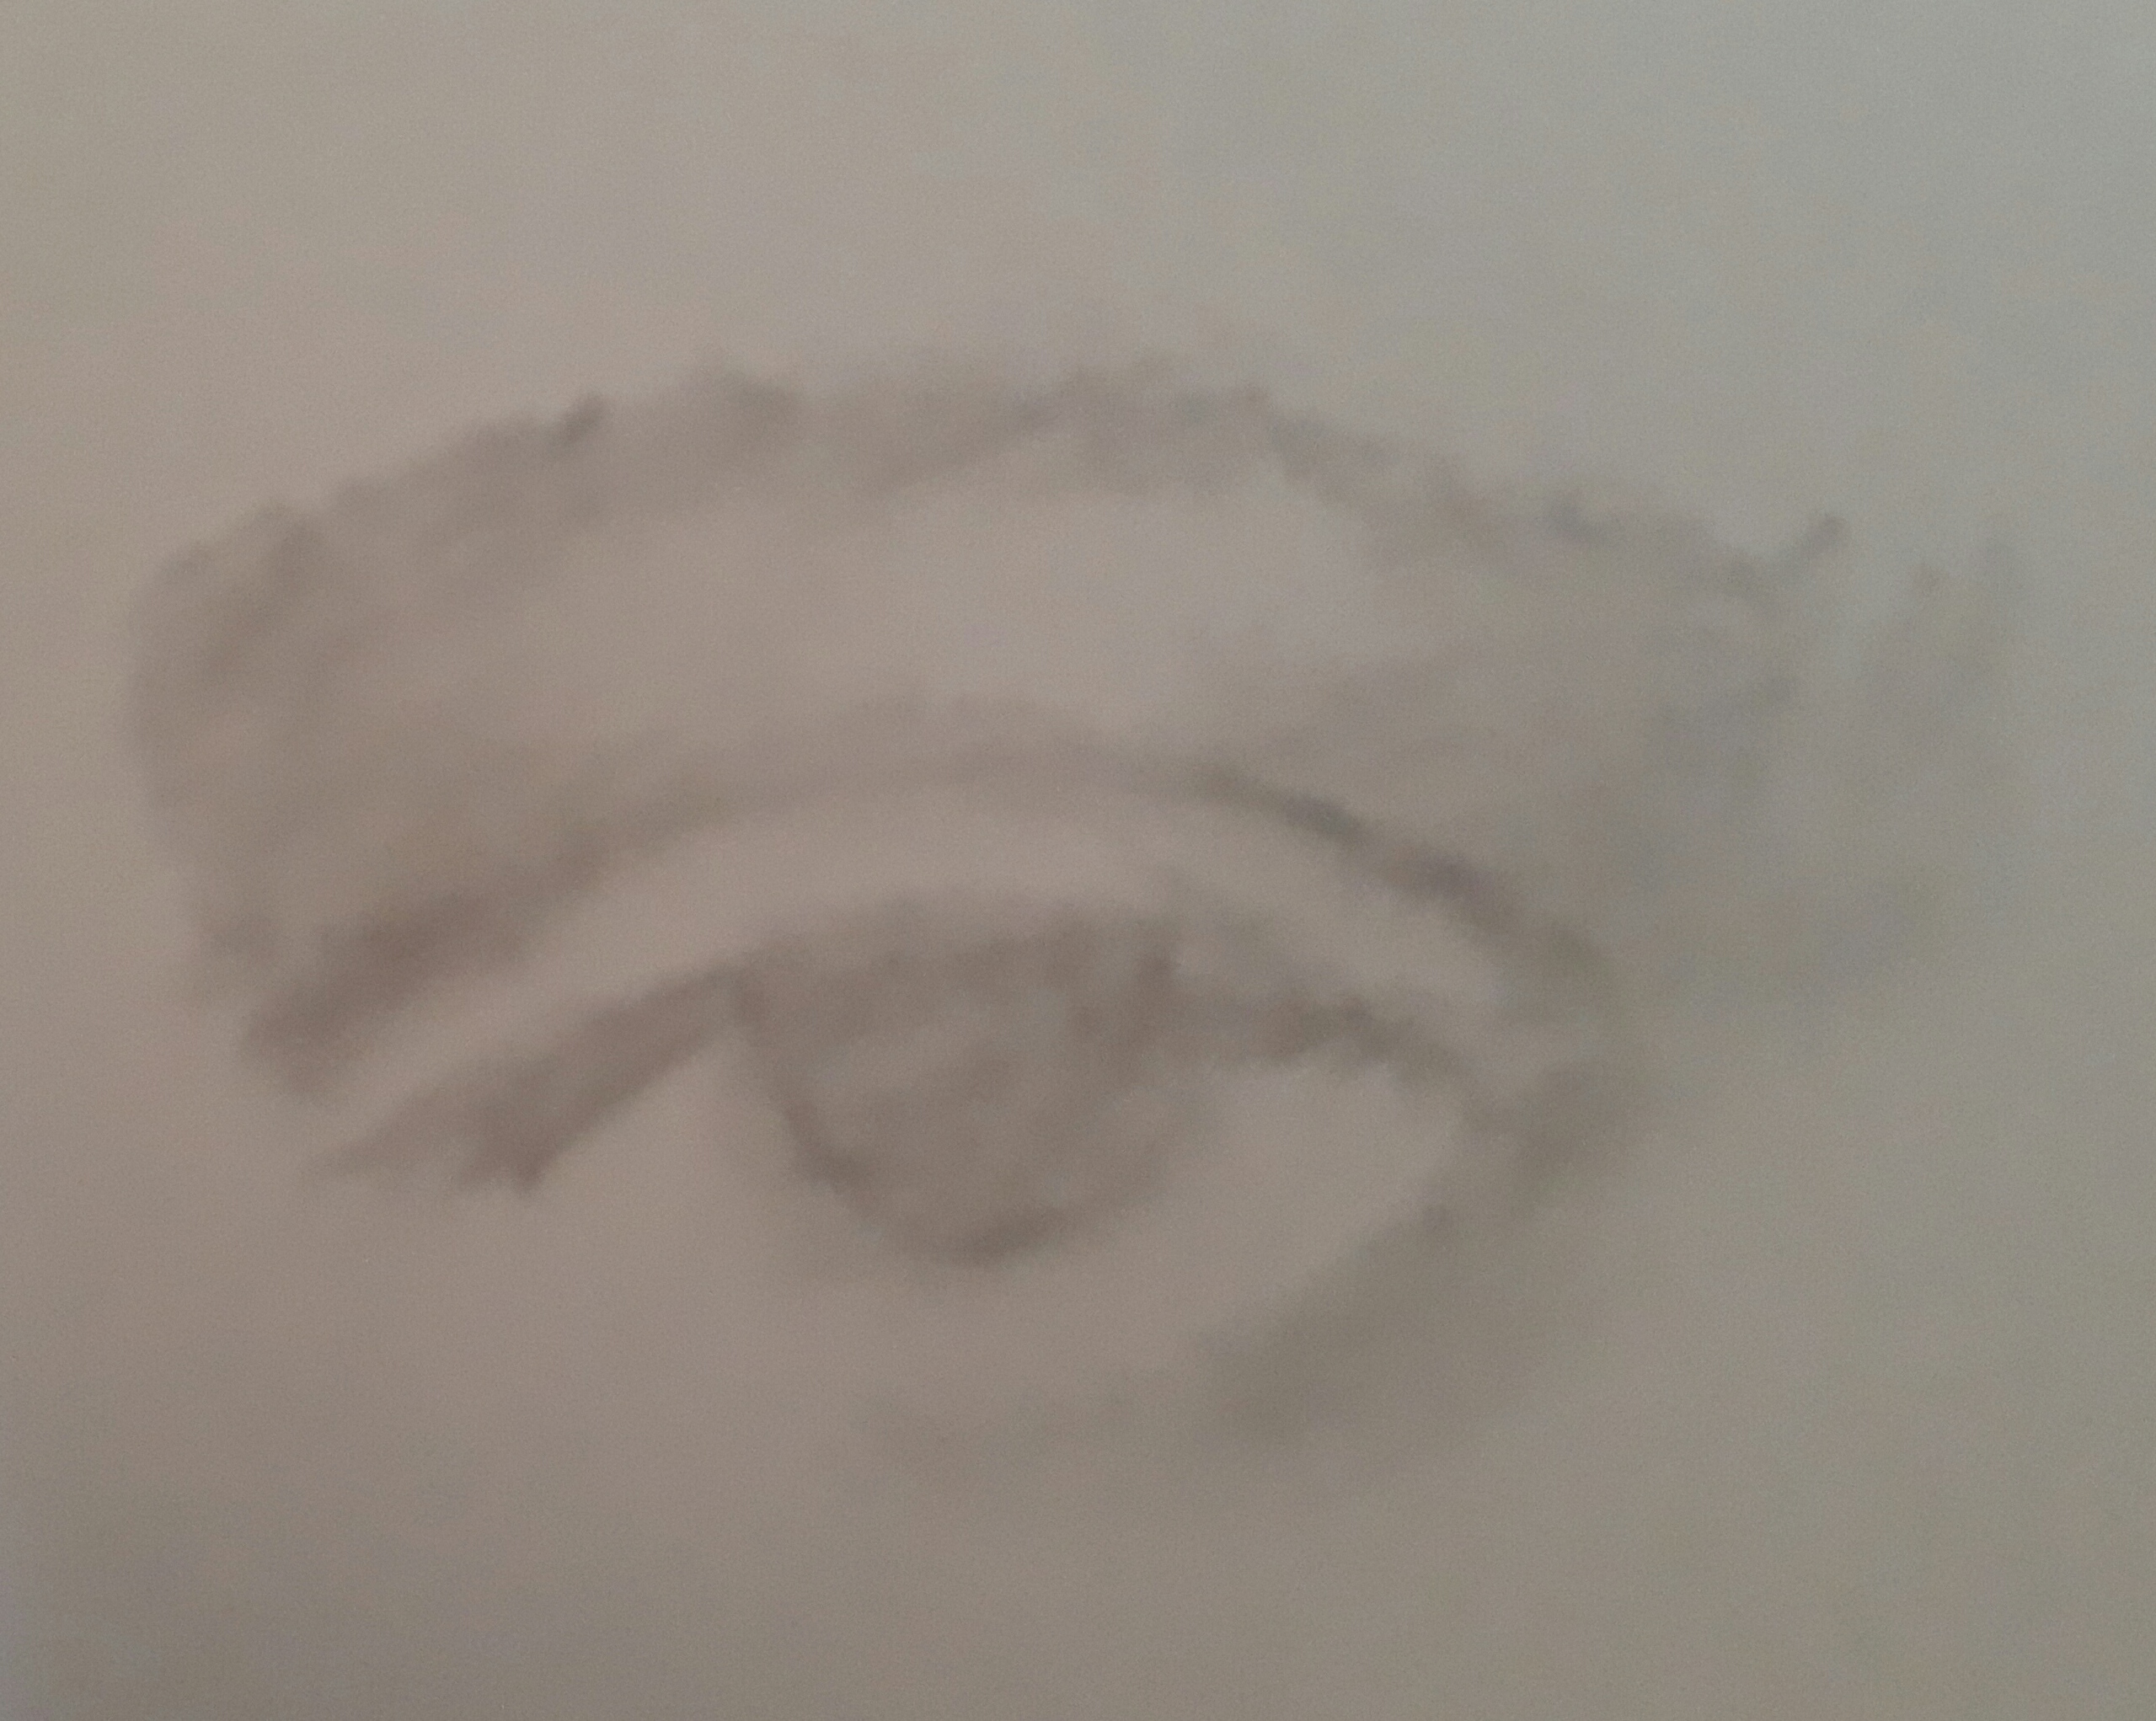
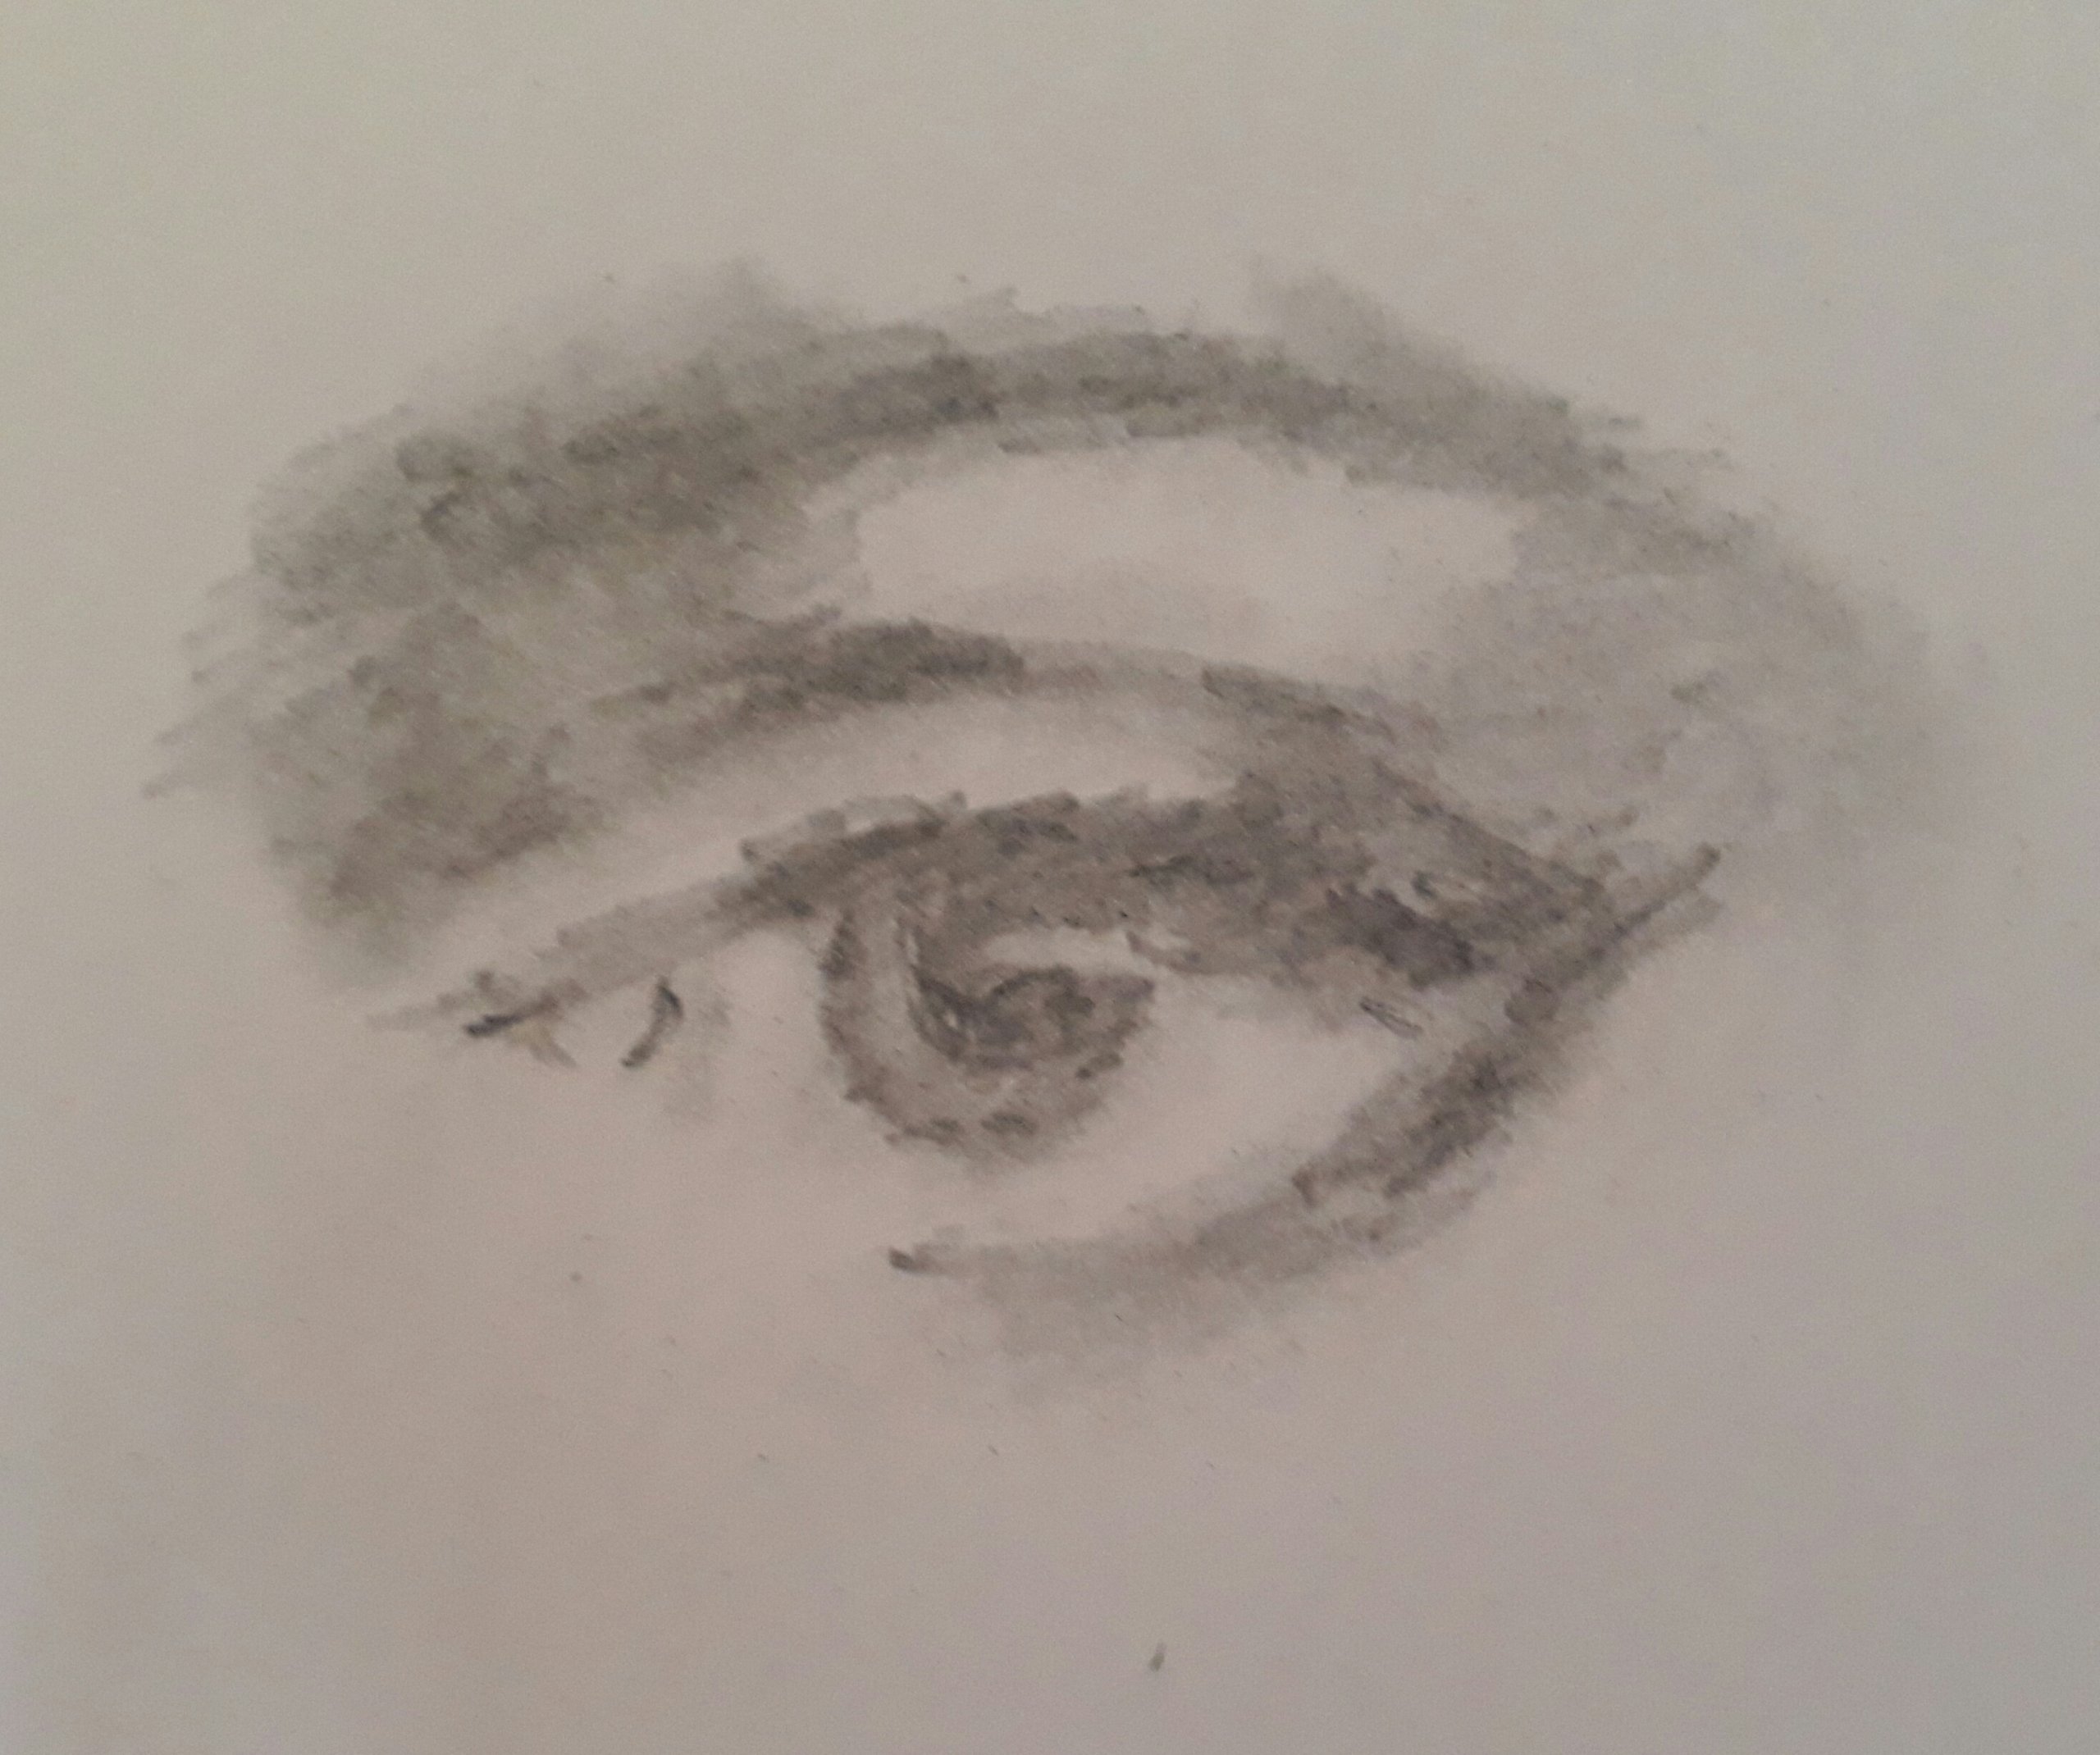
The pupil and iris are combined as a single shade of value, all the same tone. The shadow from the curved lower lid is added. Notice that this curved lower lid only goes halfway across the bottom of the eye. You are drawing a suggestion. You can use your smudger here to blend in places.

Finally, the pupil, lashes, and brow are defined. Use your pencil to go darker in these places. Use your smudger across the brows and under the lower lid, and use the point of a rubber to add highlights over the brow and across the pupil.
I hope you’ve enjoyed this tutorial. I am learning too, and I have noticed on my final drawing parts that are not to my liking, but that’s how we learn by noticing our mistakes and correcting them for the next time.
If you have a go at this please let me know how you’ve got on! x
PS.. Please don’t ask me to draw a nose!

